Branch: 1000 Parkinson Road, Woodstock
0 CAD 0.00
items in your cartto quote To cart
Ooops no items were found.
Try something else.
Ok
Loading…

Trusscore vs. Drywall: A Smarter Choice for Damp Spaces

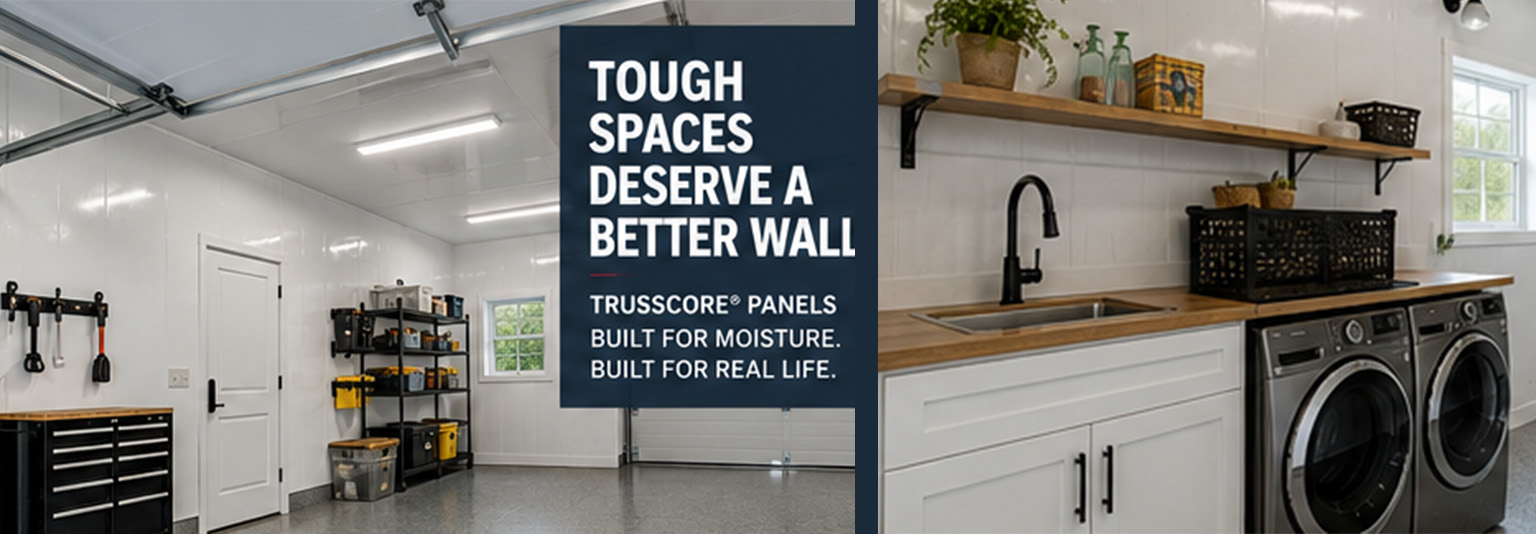
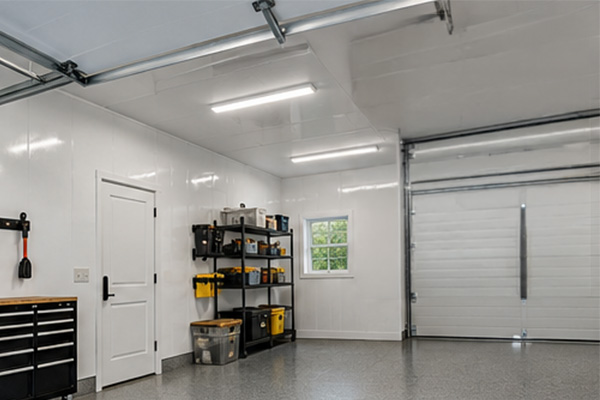
Garage interior featuring durable, Trusscore wall panels. Garage interior featuring durable, Trusscore wall panels.

When moisture is part of the equation, choosing the right wall finish matters. Traditional drywall remains a practical, economical option for many dry interior rooms. But in damp, splash-prone or high-humidity spaces, Trusscore PVC wall panels offer a durable, easy-to-clean alternative.


Why consider Trusscore?

Moisture resistance

PVC panels do not absorb water like standard paper-faced drywall. This makes them well suited to humid spaces and areas exposed to occasional splashes.

Easy maintenance

The smooth, nonporous finish can be wiped clean without routine repainting.

Durability

Panels resist everyday dents and scuffs, making them useful for busy garages, workshops and utility rooms.

Bright, finished appearance

White panels reflect light and create a clean, finished look with minimal finishing work.

Simpler finishing

Interlocking panels avoid drywall taping, mudding, sanding and painting. Cutting, fastening and trimming are still required.


At a glance: Trusscore vs. drywall

Consideration Trusscore wall panels Standard drywall
Moisture Nonabsorbent PVC panel Paper-faced gypsum can deteriorate if wet
Finish Factory-finished; no painting Typically tape, mud, sand and paint
Cleaning Wipeable surface Paint finish determines washability
Repairs Damaged panels may require replacement Patching and repainting often possible
Upfront cost Often higher material cost Often lower material cost

Important: A water-resistant wall finish does not fix leaks, condensation, hidden mould or inadequate ventilation. Address moisture sources first. Follow local building and fire-code requirements; PVC panels are not automatically a substitute for required fire-rated drywall assemblies.


DIY installation: quick guide

1. Plan and prepare

Find and correct moisture issues; ensure framing or approved substrate is sound, flat and properly spaced. Acclimate panels and review the manufacturer’s current instructions.

2. Measure and cut

Measure carefully, allowing for the manufacturer’s required movement clearances. Cut panels with suitable fine-tooth tools and wear eye protection.

3. Install starter trim

Set the recommended starter and perimeter trims level and plumb. Plan openings, corners and transitions before fastening.

4. Fasten and interlock

Attach panels through designated fastening locations into suitable framing or strapping using specified fasteners. Do not overtighten; maintain expansion gaps.

5. Finish details

Install corner and edge trims, handle penetrations per the installation guide and clean the finished surface.


Watch a video tutorial

Find current installation tutorials on the official Trusscore YouTube channel:

Click here to watch

For exact fastener spacing, panel orientation, movement gaps, ceiling details and approved applications, always consult the latest Trusscore installation guide.


Project-ready advice from Adams Building Supply

Bring your room dimensions, photos and a sketch of doors, windows, corners and fixtures to the Adams team. We can help you build a materials list, plan trims and estimate quantities for your next DIY project.

4 items found
Sort by
TRUSSCORE INSIDE CORNER COVE WHITE 10'
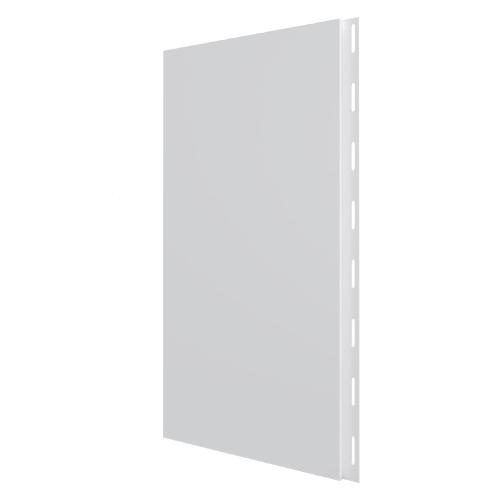
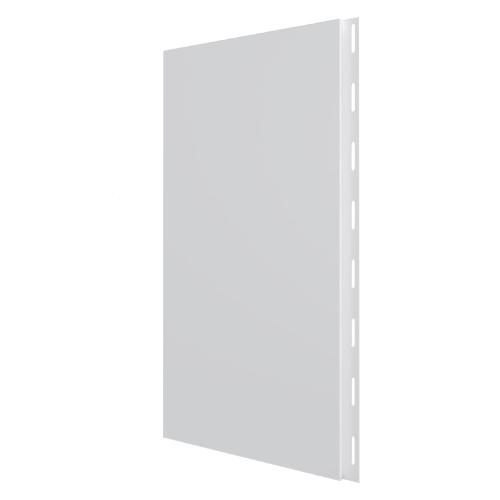
TRUSSCORE  WHITE WALL AND CEILING PANEL 1/2" X 16" X 10'
TRUSSCORE WHITE WALL AND CEILING  PANEL 1/2"x 16"x 12'
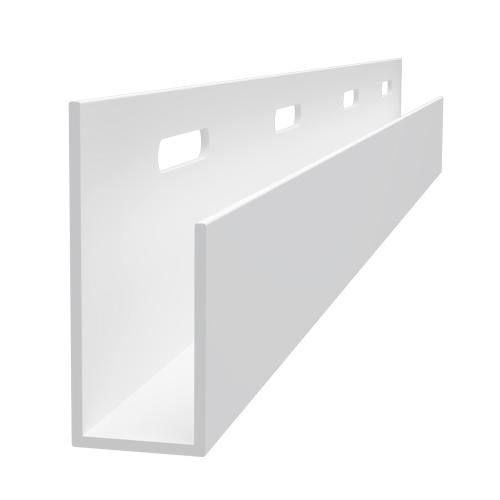
TRUSSCORE WHITE 1/2" X 10' J-TRIM
Total 4 products
4 items found
Sort by
TRUSSCORE INSIDE CORNER COVE WHITE 10'
TRUSSCORE  WHITE WALL AND CEILING PANEL 1/2" X 16" X 10'
TRUSSCORE WHITE WALL AND CEILING  PANEL 1/2"x 16"x 12'
TRUSSCORE WHITE 1/2" X 10' J-TRIM
Total 4 products

Trusscore vs. Drywall: A Smarter Choice for Damp Spaces

Garage interior featuring durable, Trusscore wall panels. Garage interior featuring durable, Trusscore wall panels.

When moisture is part of the equation, choosing the right wall finish matters. Traditional drywall remains a practical, economical option for many dry interior rooms. But in damp, splash-prone or high-humidity spaces, Trusscore PVC wall panels offer a durable, easy-to-clean alternative.


Why consider Trusscore?

Moisture resistance

PVC panels do not absorb water like standard paper-faced drywall. This makes them well suited to humid spaces and areas exposed to occasional splashes.

Easy maintenance

The smooth, nonporous finish can be wiped clean without routine repainting.

Durability

Panels resist everyday dents and scuffs, making them useful for busy garages, workshops and utility rooms.

Bright, finished appearance

White panels reflect light and create a clean, finished look with minimal finishing work.

Simpler finishing

Interlocking panels avoid drywall taping, mudding, sanding and painting. Cutting, fastening and trimming are still required.


At a glance: Trusscore vs. drywall

Consideration Trusscore wall panels Standard drywall
Moisture Nonabsorbent PVC panel Paper-faced gypsum can deteriorate if wet
Finish Factory-finished; no painting Typically tape, mud, sand and paint
Cleaning Wipeable surface Paint finish determines washability
Repairs Damaged panels may require replacement Patching and repainting often possible
Upfront cost Often higher material cost Often lower material cost

Important: A water-resistant wall finish does not fix leaks, condensation, hidden mould or inadequate ventilation. Address moisture sources first. Follow local building and fire-code requirements; PVC panels are not automatically a substitute for required fire-rated drywall assemblies.


DIY installation: quick guide

1. Plan and prepare

Find and correct moisture issues; ensure framing or approved substrate is sound, flat and properly spaced. Acclimate panels and review the manufacturer’s current instructions.

2. Measure and cut

Measure carefully, allowing for the manufacturer’s required movement clearances. Cut panels with suitable fine-tooth tools and wear eye protection.

3. Install starter trim

Set the recommended starter and perimeter trims level and plumb. Plan openings, corners and transitions before fastening.

4. Fasten and interlock

Attach panels through designated fastening locations into suitable framing or strapping using specified fasteners. Do not overtighten; maintain expansion gaps.

5. Finish details

Install corner and edge trims, handle penetrations per the installation guide and clean the finished surface.


Watch a video tutorial

Find current installation tutorials on the official Trusscore YouTube channel:

Click here to watch

For exact fastener spacing, panel orientation, movement gaps, ceiling details and approved applications, always consult the latest Trusscore installation guide.


Project-ready advice from Adams Building Supply

Bring your room dimensions, photos and a sketch of doors, windows, corners and fixtures to the Adams team. We can help you build a materials list, plan trims and estimate quantities for your next DIY project.
SEARCH ×

Search